
Cleaning dryer vent from outside: the step-by-step guide
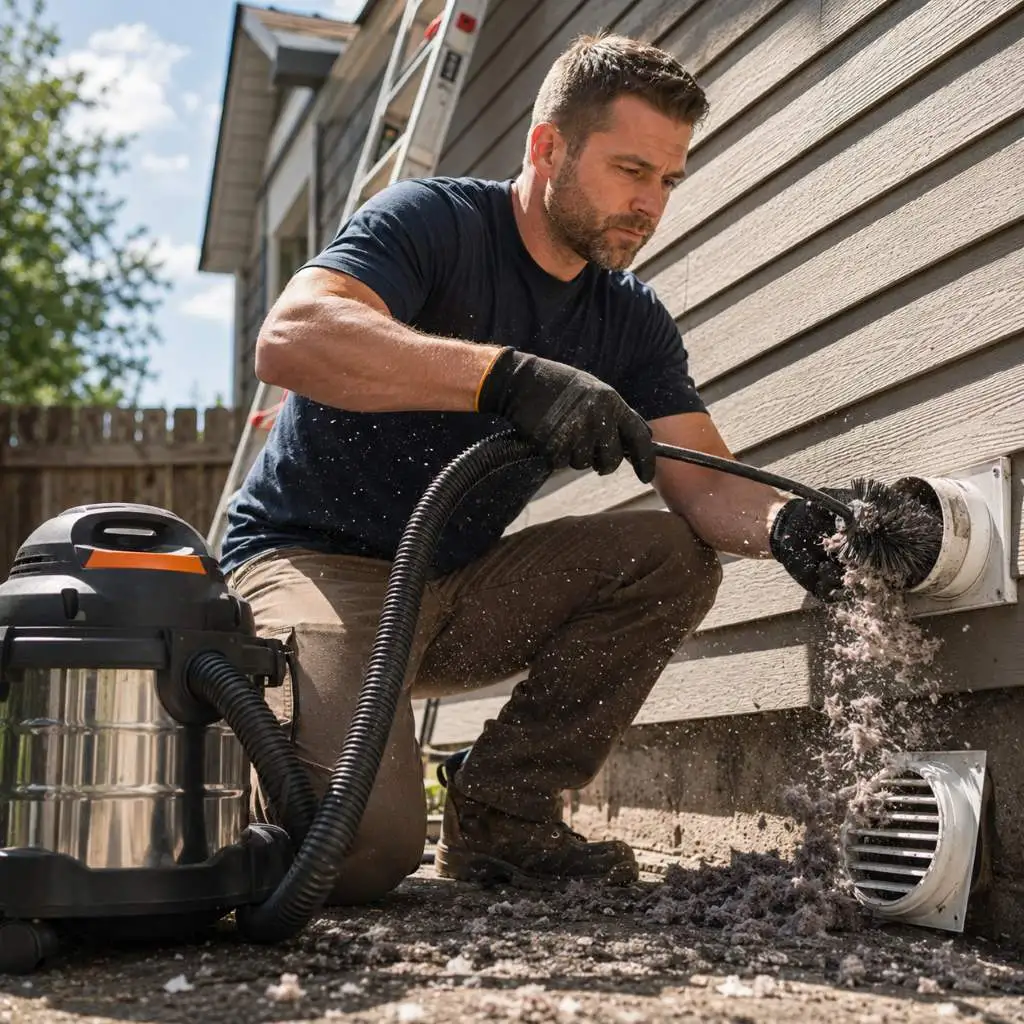
There’s a chore that sits near the bottom of most homeowners’ to-do lists, quietly getting pushed to next month and then the month after that. Cleaning dryer vent from outside isn’t glamorous, and nothing seems to go wrong until it very suddenly does.
The U.S. Fire Administration reports that dryers cause roughly 2,900 house fires every year. The leading cause isn’t a faulty part or a recalled appliance. It’s lint. It builds up inside your ductwork, slowly chokes airflow, and turns your laundry room into a fire risk that runs every time you press start.
The good news: for most homes, cleaning dryer vent from outside is something you can do yourself on a Saturday morning with a $30 brush kit and a shop vac. This guide covers every step, the tools you’ll actually need, the warning signs that something is already wrong, and the situations where calling a professional is the smarter move.
Why cleaning the dryer vent from outside matters
Most people clean the lint trap before every load. That’s a good habit, but it’s only part of the story. Lint moves past the screen and travels through the ductwork all the way to the exterior cap. Over time, it sticks to the duct walls, layer by layer, until airflow drops to a fraction of what it should be.
That buildup causes a chain of problems. Restricted airflow means your dryer runs hotter and longer to dry the same load of laundry. Lint is highly flammable, and when it accumulates close to a heat source, you end up with the conditions for a fire. A clogged or damaged vent cap also becomes an attractive entry point for birds, mice, and insects looking for a warm spot to nest. And the motor in your dryer? It’s not built to work that hard indefinitely. A dryer that should last 13 years can burn out in 7 when it’s constantly fighting a blocked vent.
That’s why cleaning dryer vent from outside, starting at the termination point and working inward, is often the most effective approach, especially when there’s heavy buildup near the cap or when the duct has a long horizontal section.
What you’ll need before you start
You don’t need a full toolbox for this job. Here’s what actually matters:
- Dryer vent cleaning brush kit with flexible rod extensions
- Shop vac with a hose attachment (a standard household vacuum works but a shop vac does it better)
- Screwdriver, flathead or Phillips depending on your vent cap
- Work gloves
- Safety glasses
- A flashlight or headlamp
- A second pair of hands helps for longer runs (optional)
Most brush kits include enough rod sections to reach 12 to 15 feet into the duct. If your laundry room is far from an exterior wall or your ductwork takes several turns to get outside, a standard kit may not cover the full run. That’s a detail worth knowing before you start rather than mid-job.
How to clean your dryer vent from outside: step by step
Step 1: Locate the exterior vent cap
Walk around the outside of your home until you find where the dryer exhaust exits. It’s usually on the wall closest to your laundry room, somewhere between 6 inches and 2 feet above grade. The cap is typically a louvered cover with flaps, a hinged single flap, or occasionally a box-style cover.
Look at it before you do anything else. If the flap isn’t moving freely, if lint is matted around the cover, or if you spot nesting material, you already know this vent is overdue.
Step 2: Unplug the dryer
Go back inside and unplug the dryer from the wall outlet. For a gas dryer, you don’t need to touch the gas line, just pull the electrical plug. This is a simple step that prevents the dryer from cycling on while your brush is inside the duct.
Step 3: Remove the exterior vent cap
Most caps are held in place with two or three screws, or are clipped directly into the siding. Remove the fasteners and pull the cap away from the wall carefully. Set the screws on a flat surface nearby. They have a way of disappearing into mulch or grass.
With the cap off, point your flashlight into the duct. A dense plug of lint near the opening is completely normal. That’s exactly what you’re here to deal with.
Step 4: Vacuum out the opening
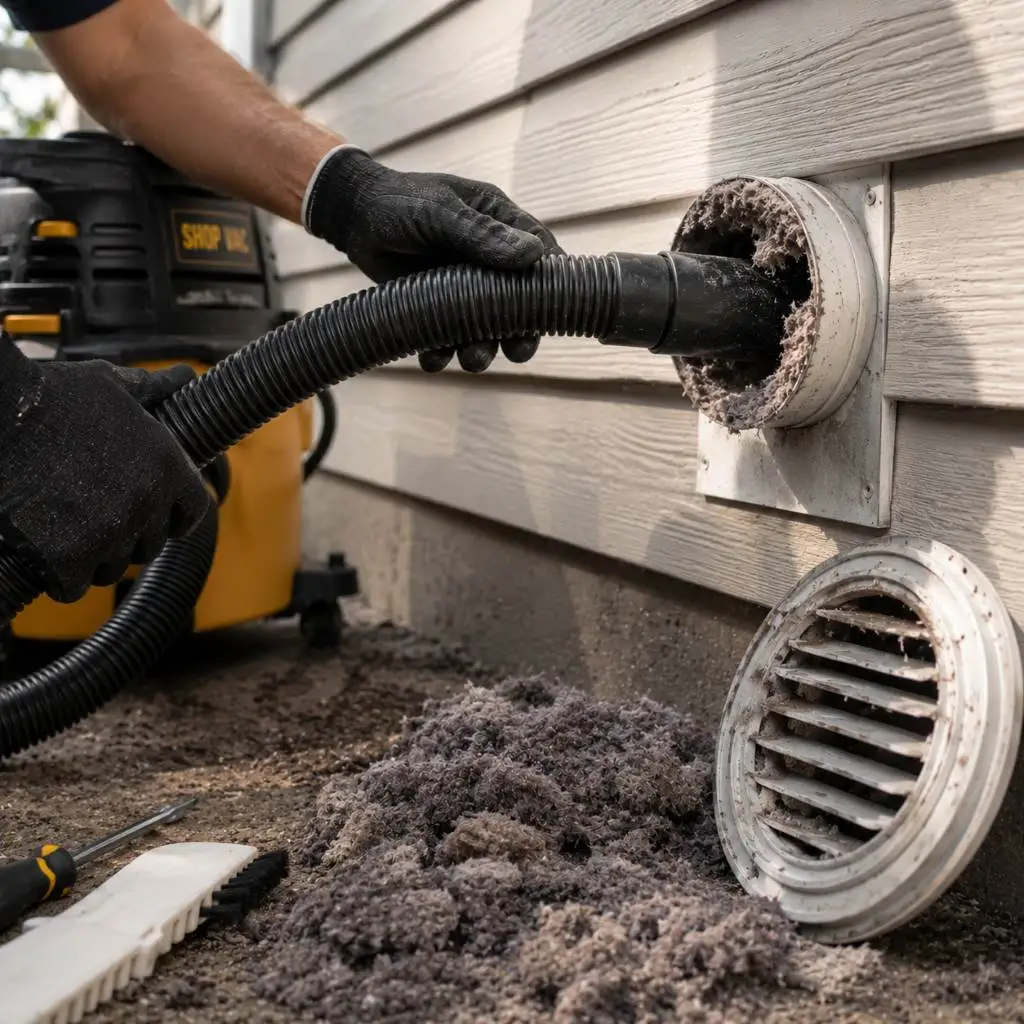
Before putting the brush in, run the shop vac hose into the opening and pull out whatever lint is within reach. This matters more than it might seem. If you skip this step and go straight to brushing, you’ll push the bulk of the clog deeper into the duct rather than out of it.
Most homeowners are surprised by how much comes out at this stage alone.
Step 5: Insert the brush and work through the duct
Attach the first rod section to the brush head and insert it into the duct. Use a slow rotating motion as you push inward. The rotation is what dislodges the lint from the duct walls rather than just compressing it.
Add rod sections as you go until you’ve reached as far into the duct as the kit allows. Keep the motion steady. If you hit solid resistance, don’t force it. Pull back, vacuum the opening again, and try once more. Forcing a brush through a tight clog can damage a flexible duct section or kink the run.
Step 6: Vacuum from both ends
After the brush pass, pull the rods back out and vacuum the exterior opening again. Your brushing will have loosened a second layer of lint that’s now closer to the exit.
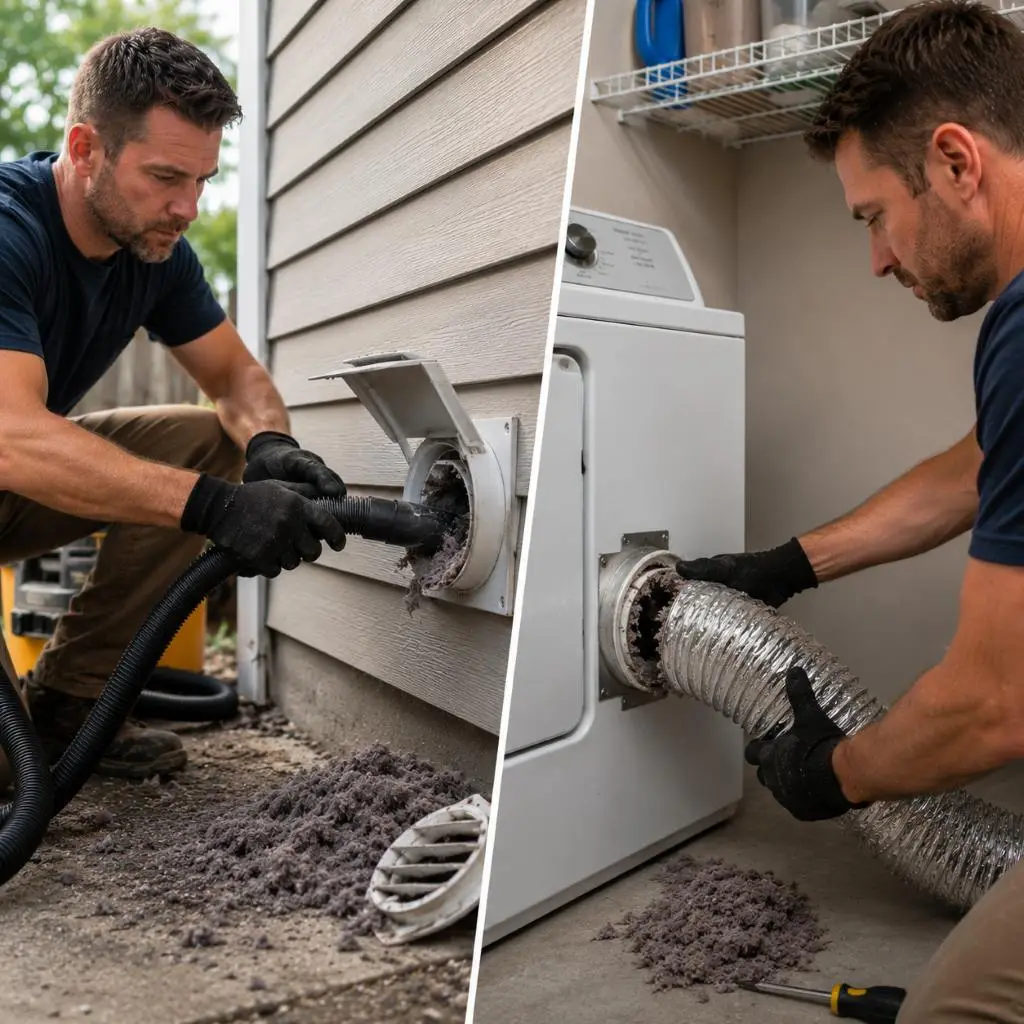
Then go inside. Pull the dryer a few inches away from the wall and disconnect the transition duct from the back of the unit. Vacuum the transition piece and the port on the dryer itself. Lint clusters at both connection points and neither gets cleaned any other way.
Step 7: Check the cap for damage
With everything cleaned out, take a close look at the cap itself before you put it back. Specifically, check for:
- Cracks or splits in the cap housing
- Louver flaps that are broken, stuck open, or missing entirely
- A mesh screen over the opening (this should be removed, not left in place)
- Debris or nesting material you haven’t fully cleared
The screen issue catches a lot of homeowners off guard. It seems like a good idea to have mesh covering the opening, but screens trap lint and are one of the main causes of exterior vent blockages. The louvered flaps on a standard cap do the job of keeping birds and rodents out. The screen just makes your cleaning job harder faster.
Step 8: Reinstall the cap and run a test
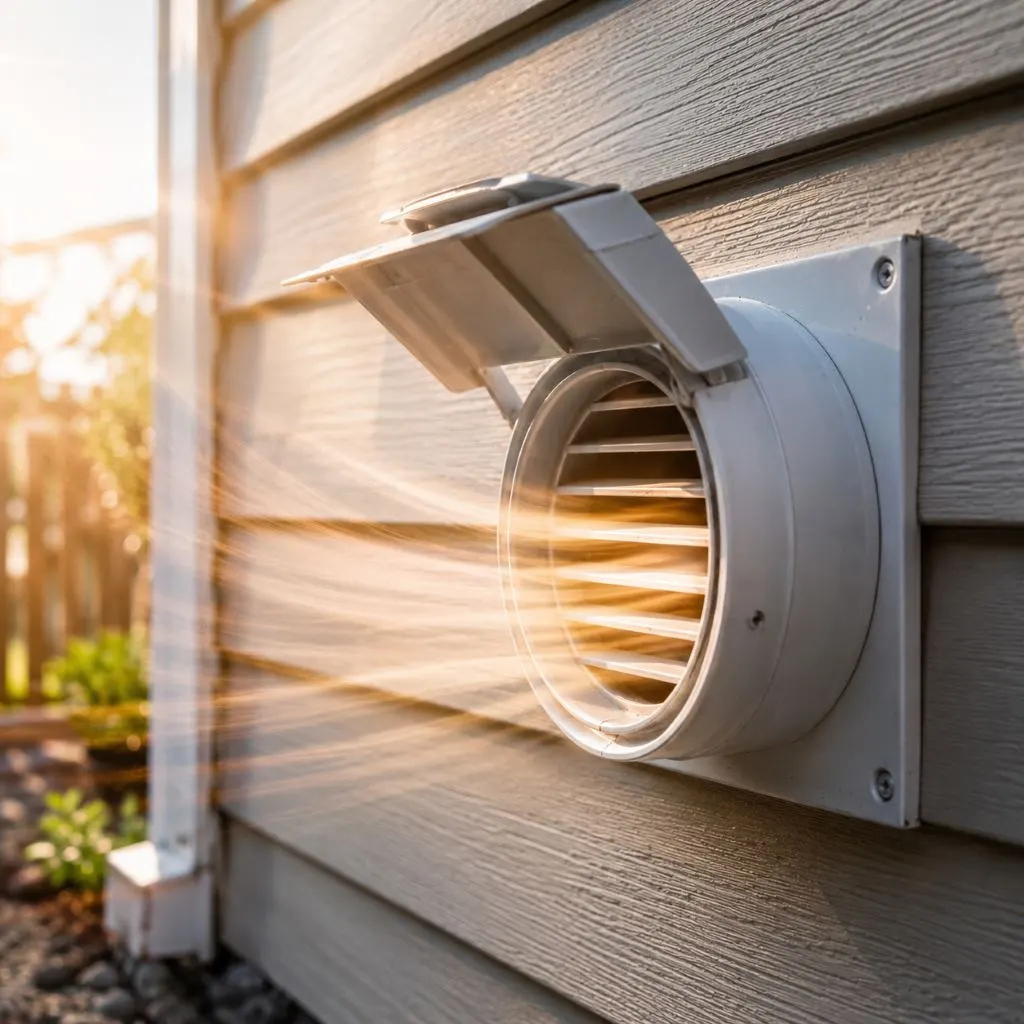
Screw the cap back into place. Go inside, reconnect the transition duct to the dryer, and plug the unit back in. Run the dryer on a timed heat cycle for 10 to 15 minutes without any laundry. Go back outside and watch the exterior flap. It should swing open freely, and you should feel a solid push of warm air at the opening.
If the flap barely moves or the airflow feels weak, there’s still a restriction somewhere in the run, most likely at a bend the brush couldn’t fully navigate, or at an interior joint that’s come loose.
Signs your dryer vent is overdue for cleaning
Not sure how urgent this is for your home? These are the things homeowners notice first, usually after the problem has been building for months:
- Clothes taking two cycles to dry, especially thick items like towels or denim
- The top or sides of the dryer feeling hot to the touch during a cycle
- The laundry room feeling humid or warm while the dryer is running
- More than a year since the last vent cleaning
- A faint burning smell during or right after a cycle
- The exterior flap sitting still when the dryer is on
- Lint collecting around the outside vent opening or on the ground beneath it
- Drying times that have slowly gotten longer over the past few months
Any one of these is reason to clean the vent this week. Several of them together means it should have happened already.
When a DIY cleaning isn’t enough
Cleaning dryer vent from outside yourself works well for shorter, straighter duct runs. There are situations, though, where a consumer brush kit isn’t the right tool for the job.
Long duct runs
Most brush kits reach 12 to 15 feet. A lot of homes, especially older construction or layouts where the laundry room is in the center of the house, have duct runs of 20, 25, or even 30 feet. If the kit doesn’t cover the full length, the far half of the duct stays packed with lint even after you clean. You feel like the job is done, but it isn’t.
Multiple sharp turns
Every 90-degree elbow in a dryer duct reduces airflow and gives lint a place to pile up. If your duct makes two or three turns before it reaches the exterior wall, a rigid brush rod may not navigate the bends cleanly. Forcing it risks kinking or tearing a flexible duct section from the inside, which creates a bigger problem than the clog you started with.
Suspected disconnection inside the wall
Dryer duct connections inside wall cavities sometimes separate over time, particularly at joints that weren’t properly secured. When that happens, hot moist air and lint exhaust directly into the wall cavity instead of outside. The result is mold growth in a place you can’t see, and a fire risk that’s getting worse every time you run the dryer. You can’t diagnose this from the exterior end, and a brush won’t find it.
A nest inside the duct
If you pull the cap and find bird nesting material or signs of rodents, don’t try to clear it yourself with the brush. Nests typically go much deeper than they first appear. An inspection camera is the right way to assess the situation, and you’ll want to confirm the duct walls aren’t damaged in the process.
When these situations come up, AirDuctVet’s technicians bring professional rotary brush systems, industrial vacuums, and inspection cameras. We verify the full length of the duct is clear, check that every connection is sealed, and confirm the exterior cap is working properly. A $20 brush kit is a great starting point for routine maintenance. It’s not built for a 28-foot duct with three elbows and a bird nest at the midpoint.
How often should you clean the dryer vent from outside?
Once a year is the standard recommendation from fire safety organizations, and for a typical two-person household running a few loads a week, that schedule works. It’s a floor, not a number to aim for. If you’re not sure where to start, scheduling cleaning dryer vent from outside once before winter is a smart first step.
You should clean more often if your household does five or more loads a week, if you have dogs or cats that shed, if you regularly dry heavy items like comforters or rugs, or if your duct run is longer than 15 feet.
A simple habit that catches problems early: every couple of months, go outside while the dryer is running and check whether the vent flap is opening freely. If it isn’t, that’s your signal to clean before the scheduled time. It takes 30 seconds and has stopped more than a few near-misses.
Dryer vent cleaning vs. dryer duct cleaning: is there actually a difference?
You’ll see both terms used in articles and on service company websites, and for most homeowners they describe the same job. Technically, the vent is the exit point (the cap and the wall opening), while the duct is the pipe running through the wall. When someone talks about cleaning the dryer vent from outside, they usually mean starting at the exterior cap and working back through the duct toward the dryer.
That’s the right direction to work. Starting from the outside moves the lint toward the exit rather than pushing it deeper into the system.
A thorough cleaning covers both ends: the exterior opening and the interior connection at the dryer itself. Stopping at one end and calling it done leaves the other end uncleaned.
What a professional dryer vent cleaning actually involves
When an AirDuctVet technician handles your vent cleaning, here’s what the visit looks like:
- Visual inspection of the exterior cap for damage, pest intrusion, or blockage before anything else
- Rotary brush cleaning from the exterior end, using flexible professional rods long enough to cover the full duct run
- Industrial vacuum extraction running simultaneously, so loosened lint exits the duct rather than settling somewhere else inside it
- Inspection of interior connections, including the duct-to-dryer transition piece and any accessible joints
- Airflow testing with the dryer running to confirm the exhaust is unobstructed
- Cap assessment, with a straight answer about whether your current cap is damaged or undersized
The whole visit runs 45 minutes to an hour. Nothing gets opened up inside your walls. The result is a duct that’s clean end to end, with documentation you can keep on file.
A note on flexible vs. rigid dryer ductwork
If your dryer connects to the wall through the silver accordion-style flexible duct, it’s worth knowing that many building codes now require rigid or semi-rigid metal duct for the main run. The plastic and foil accordion ducts compress easily, collect lint in their ridges, and carry more fire risk than smooth-walled rigid metal.
If you find a damaged or heavily clogged flexible duct during your cleaning, replacing it with rigid aluminum or galvanized steel duct is a straightforward upgrade. The material cost is low, and the improvement in airflow and fire safety is real.
Bottom line
Cleaning dryer vent from outside is not complicated. It takes an hour, costs almost nothing in supplies, and directly cuts your risk of a dryer fire. Do it once a year. Check the exterior flap periodically between cleanings. And if the job turns out to be bigger than a consumer brush kit can handle, don’t keep pushing it. A professional visit costs less than you think and handles what the brush can’t reach.
AirDuctVet is a veteran-owned, BBB-accredited company. When you schedule with us, you get a technician who will tell you exactly what they found and what your system actually needs, nothing more than that.
FAQ Section
Start by removing the exterior vent cap and vacuuming out accessible lint at the opening. Insert a flexible dryer vent brush kit and work it through the duct in a slow, rotating motion. Vacuum again from both the exterior and interior ends, inspect the cap for damage, reassemble, and run a test cycle to confirm strong airflow.
Most households should clean their dryer vent at least once a year. If you do five or more loads per week, have pets, or have a long duct run, cleaning every six months is a smarter schedule.
Yes - for shorter, relatively straight duct runs, a DIY cleaning with a brush kit is effective. However, ducts longer than 15 feet, those with multiple bends, or those showing signs of damage or pest intrusion are better handled by a professional with commercial-grade equipment.
Lint accumulates and restricts airflow, causing your dryer to overheat. This increases the risk of a dryer fire, shortens the lifespan of your appliance, and drives up your energy bills. In extreme cases, disconnected or damaged ducts can deposit lint and moisture inside wall cavities, creating mold risk.
Check the exterior vent cap while the dryer is running. The louver flap should open freely and you should feel warm, steady airflow. If the flap barely moves or you feel little airflow, the vent is partially or fully blocked. Other signs include long drying times, an unusually hot dryer, or lint visible at the exterior opening.
No. Mesh screens on exterior dryer vents trap lint and cause blockages faster than a clean louvered cap. If your exterior cap has a screen, remove it. The louvered flaps on a standard vent cap are sufficient to keep birds and pests out.
A basic DIY cleaning typically takes 30–60 minutes depending on duct length and how clogged it is. A professional cleaning, which includes inspection of interior connections and airflow verification, usually takes 45 minutes to an hour.
You'll need a flexible dryer vent brush kit, a shop vacuum with a hose attachment, a screwdriver to remove the vent cap, work gloves, safety glasses, and a flashlight. A partner is helpful for holding the brush or monitoring airflow during the test cycle.
Your Dryer Vent Could Be a Hidden Fire Hazard – Let’s Make Sure It’s Not
If you can’t remember the last time your dryer vent was professionally cleaned – or if you’ve noticed any of the warning signs in this article – it’s time to schedule a service.
AirDuctVet is a veteran-owned, BBB-accredited home services company that specializes in dryer vent cleaning, air duct cleaning, and HVAC hygiene. We use professional-grade equipment that reaches every inch of your ductwork – including the spots a consumer brush kit can’t touch.
📞 Call or book online today and get peace of mind that your dryer is safe to run.
We serve homeowners who take safety seriously. Our technicians are trained, thorough, and honest about what your system needs – no upselling, no surprises.

